Welcome to my collection of 1:12 scale miniature food made with love (and polymer clay) - for dollhouses or admirers of all-things-mini.

In life, it's the small things around you that matter the most. Embrace, enjoy, and savor every second with all your might.

Wednesday, February 19, 2014

Dollhouse Highlights - A Loooong Overdue Catch Up Post :)

First off I want to welcome everyone back to my blog. I hope you all are having a marvelous early spring after this horrendous winter we've been having especially on the East Coast. I'm sooo over winter - ready for warmer weather and hopefully better health too. :) My health has kept me from blogging since late last summer and many projects have either gone untouched or I had a LOT of help getting the things you see in these photos completed. In the last several months I just never could manage to get to the computer to blog about the progress, and my severely arthritic hands would not cooperate enough to handle the minis or typing. However, I do update our dollhouse photos as they change through the seasons from my phone camera by posting them to my Pinterest boards here Pinterest mmhbminiatures, which you can visit anytime for more recent mini updates. It's so much easier to post pictures without blogging about them, as I've become a lady of many lesser words these days. ;)

Speaking of words, let's just get to the quick of it shall we and I'll show you some of the things my family and friends have helped me finish over the last few months. Thanks so much for stopping by my long abandoned blog. I'll try to keep current and also visit all of your marvelous blogs. For those of you reading who are also on Pinterest I've really enjoyed your dollhouse and mini photos; when I'm terribly ill, they brighten my day tremendously. I'd love it if you leave a comment, and promise to read them and respond whenever I am able. :)


Easter will be here before we know it...how about a nice spring flower and Easter egg wreath for the front door on the farmhouse? 


Springtime flowers and plants for the music room too!


That is one messy sink! LOL Thanks to a tutorial on YouTube by Garden of Imagination we learned how to make bubbles for the miniature dollhouse sinks and tubs. Garden of Imagination - Making bubbles


If only all our household messes were THIS small. LOL


The third floor of the farmhouse underwent a renovation, this time, we did it right with the orientation of the room dividers and different wallpapers for each room. Ahhhh....we like this much better!


Awesome bubbles!


A.C. Moore had these on sale - miniature board games (they're really key chains, but shhhhh...we don't have to tell...LOL). They're not quite 1:12 scale, but darn close enough. ;) The Life game spinner really works! Total awesomeness!


The Monopoly board is magnetic, so the tiny playing pieces and dice stay put. No money or Chance cards yet, a good mini printies site should help us take care of that detail.


Mini 1:12 scale bikes painted to look a little more realistic. We're ready for spring now. :) This one we found on Hobby Builders Supply. It was all white before we painted it blue with Testors enamel paints.


And this bike was at Hobby Lobby, it was black, now painted red. 


A thermos full of coffee in the bike basket - java juice is vital for those early morning rides in the spring sunshine.


Here are some dollhouse photos from last autumn- of the dollhouses all decked out for Halloween. More pics are on Pinterest: Dollhouse Autumn Scenes


The natural swimming hole for the Victorian dollhouse got finished...yay!!!


And some dollhouse Christmas photos too (more pics on Pinterest: Our Dollhouses All Decked Out for Christmas) - little mini micro lights we found on Amazon were the perfect teeny tiny lights to light these babies up. :) You can find the lights here: Amazon: Micro Lights


Found a LOT for Christmas minis as a Miniature Yard Sale last fall - amazing and very reasonably priced. 


A tree for every room was the goal. :)


The natural swimming hole and diving pier is all frozen over for winter....brrrrrrrr!

Each tree was decorated in a "theme" - the music room tree had tiny gold music ornaments. 


Gosh those micro mini lights are so bright! And they plug in to a regular wall outlet too - easy peasy to hang on the houses and no changing batteries! The wire is almost invisible because it's so thin, and very "bendy" - easy to put in place.


Thank you so much for stopping by! XO - Jackie

Monday, August 26, 2013

Natural Swimming Hole for the Victorian Dollhouse

It's been a while, wow, make that a loooong while, since I eeked out a post. I miss "blog-dom" and I'm way behind on either of my daughters' dollhouses and any dollhouse miniature foods I've been dreaming of creating. It's the lupus. Always the lupus. :( Drat!! And this summer was no different. Hot weather = exhaustion. Mind numbing, OMG can't keep my eyes open, exhaustion. And the swelling and stiffness, in fingers, and feet. Flares make it impossible to spend any real amount of time working on my mini worlds.

So with the kids back in school since last week I'm looking longingly at my long neglected mini yards. Going to attempt something I saw online that appears to be all the rage in residential swimming pools in the U.K. (and starting to catch on over here in the U.S.) - natural swimming pools? They are really cool and beautiful as they fit right into the natural landscape. This would be perfect for the Victorian dollhouse. One, because the table my husband placed this dollhouse on is larger than the table under the Vermont Farmhouse Jr., so there's plenty of room, and two, since the little doll "family" that "lives" in the Victorian are doing some wonderful rehab with what could theoretically be a two hundred year-old home, I thought they would be the type of "homeowners" to tackle a natural pool project that will blend into what-will-someday-be a very naturally landscaped yard (hopefully with a Real Good Toys Gazebo - oh how we dream.) And besides, this natural pool creation will give us a great excuse to use up the sand, Styrofoam, and bags of mini-rocks we've had in the craft cupboard for years.

Now the really BIG question is, how long will it take me to finish this project? Ha ha, only the lupus knows. ;) And I'll probably get a hand or two from my kids when they are not swamped with sports or homework.

The nice thing about miniatures is that I can do what I can physically manage, if it's 15 minutes, only 5 minutes, or oh boy, maybe even a whole hour on a rare occasion...and when my fingers lock up and stiffen from the strain of the work I can put it down, push it all aside and rest until another day. No pressure. I just work on the projects as am I able.

Hope you all are having a wonderful mini-day! :)

Here are some photos to show the progress on the natural swimming "hole"....click on the photos to enlarge for better viewing. I had a LOT of help with cutting, gluing the rocks was easier, but we got the job done. Thanks so much for stopping by my blog. <3 <3 I love all your wonderful comments!


No "water" here yet, going to try "Magic Water." My brother-in-law does model railroads and he loves the stuff, so he is mailing me some. :)


This is how it all started. I'm not a "saver" by any means, I pick and choose stuff I want to save for crafts. Lucky this Styrofoam and rocks and sand were something I thought worthy of saving years ago. Anyway, I glued that outer ring to the larger piece of Styrofoam (the bottom of the pool), and waited till it dried.


Leftover artificial spring grass from Woodland Scenics came next. Hit it with a hair dryer on "hot" setting and it molds to the Styrofoam base. That huge rock to the left is something my now 16-year-old picked up when we were hiking in the mountains, about 10 YEARS ago...at least it reminds me that at one time I was able to hike. :) Good times, yes, good times. 


A little trick my brother-in-law taught me about making ponds - brush dark green and black paint into the parts you want to create the illusion of depth or slopes under water. And brushing the darker paints on the grass didn't require a steady hand either - a definite plus for my shaky twisty fingers. :)


And there's the huge rock my daughter found and carried home in her jacket pocket when she was about 6! That is going to be the waterfall. Of all the rocks she used to pick up on hikes and collect, this was the one I saved and found hiding in the corner of my desk. Kind of cool to incorporate it into her dollhouse swimming pool now. 


After gluing the rocks around the edge, we sprinkled some light sand so it would stick to the glue in between the rocks and give the appearance of some kind of mortar. We'll brush out the extra sand later when everything is securely dried together. 


Adding some plants because these are what actually help "filter" and clean natural swimming pools. These sprigs are all I have for now. When I get the energy to go to the craft store I'll see what else I can find that is good to use in this setting.


More rocks and sand will go around the outer edge of the pool, on top of the Styrofoam around the outer edge. Sort of like this real one I saw online, when I simply fell in love with this type of pool: Eco Lagoons

Happy blogging everyone! :)

Saturday, June 22, 2013

4th of July at the Farmhouse

Thanks to Real Good Toys for making their high quality and easy-to-build dollhouse kits that helped us create this wonderful Vermont Jr. Farmhouse and its adorable additions. :) My health hasn't been the greatest lately...so I dropped out of "mini-world" again for a while for much needed rest. In the meantime my daughters helped put together some lovely decorations I just had to share with all my fellow bloggers.

Click on the pics to enlarge. Have a wonderful summer everyone!


 The "Ross" resin doll from the amazing Houseworks collection, available at Hobby Builder's Supply. The girls love these dolls, they said they aren't "scary" looking like some of the dollhouse dolls they've seen, LOL. They are very handsomely made and realistic. Awesome! The charcoal grill came from Hobby Builder's Supply too, and the Adirondack chairs came from Manor House Miniatures, so did the mini flags. The side tables were handmade, so was the blue bench along the wall. And of course, the mini barbecue food too!


This darling little lady doll doesn't exactly fit in with the time period, but she's so lovely we just had to include her. :) Isn't that garden hose terrific? Thanks Hobby Builder's Supply!


 Another wonderful outdoor chair - from Manor House Miniatures!

The handmade white porch swing - took 2 months to create and line up the links in the chain just right so the swing sat evenly. But we like the end result.

Wait for guests to arrive for the barbecue - more Houseworks collection resin dolls from Hobby Builder's Supply, helped create a welcoming front porch scene.

Handcrafted green porch chairs - some balsa wood strips and spray paint, and voila! Porch chairs!

Close ups of polymer clay mini foods - banana split sundaes, lemonade, and a salty margarita!


Food's almost done!

Happy 4th of July! Thanks for following! :D

Sunday, April 21, 2013

Croquet Anyone?

I'm listening to the sounds of spring outside, birds are chirping, the sun is shining. Ah what lovely weather. And as soon as the temperature creeps up into the 70s and stays there a bit, I might be able to get out and enjoy some sunshine. My fingers and toes really suffer in cold and brisk weather and I can barely move them when it's cold. We had a run of 80 + degree temperatures a week or so ago, but sadly, those temperatures went straight back down into the 50s and 60s again. My joints definitely are not amused. 

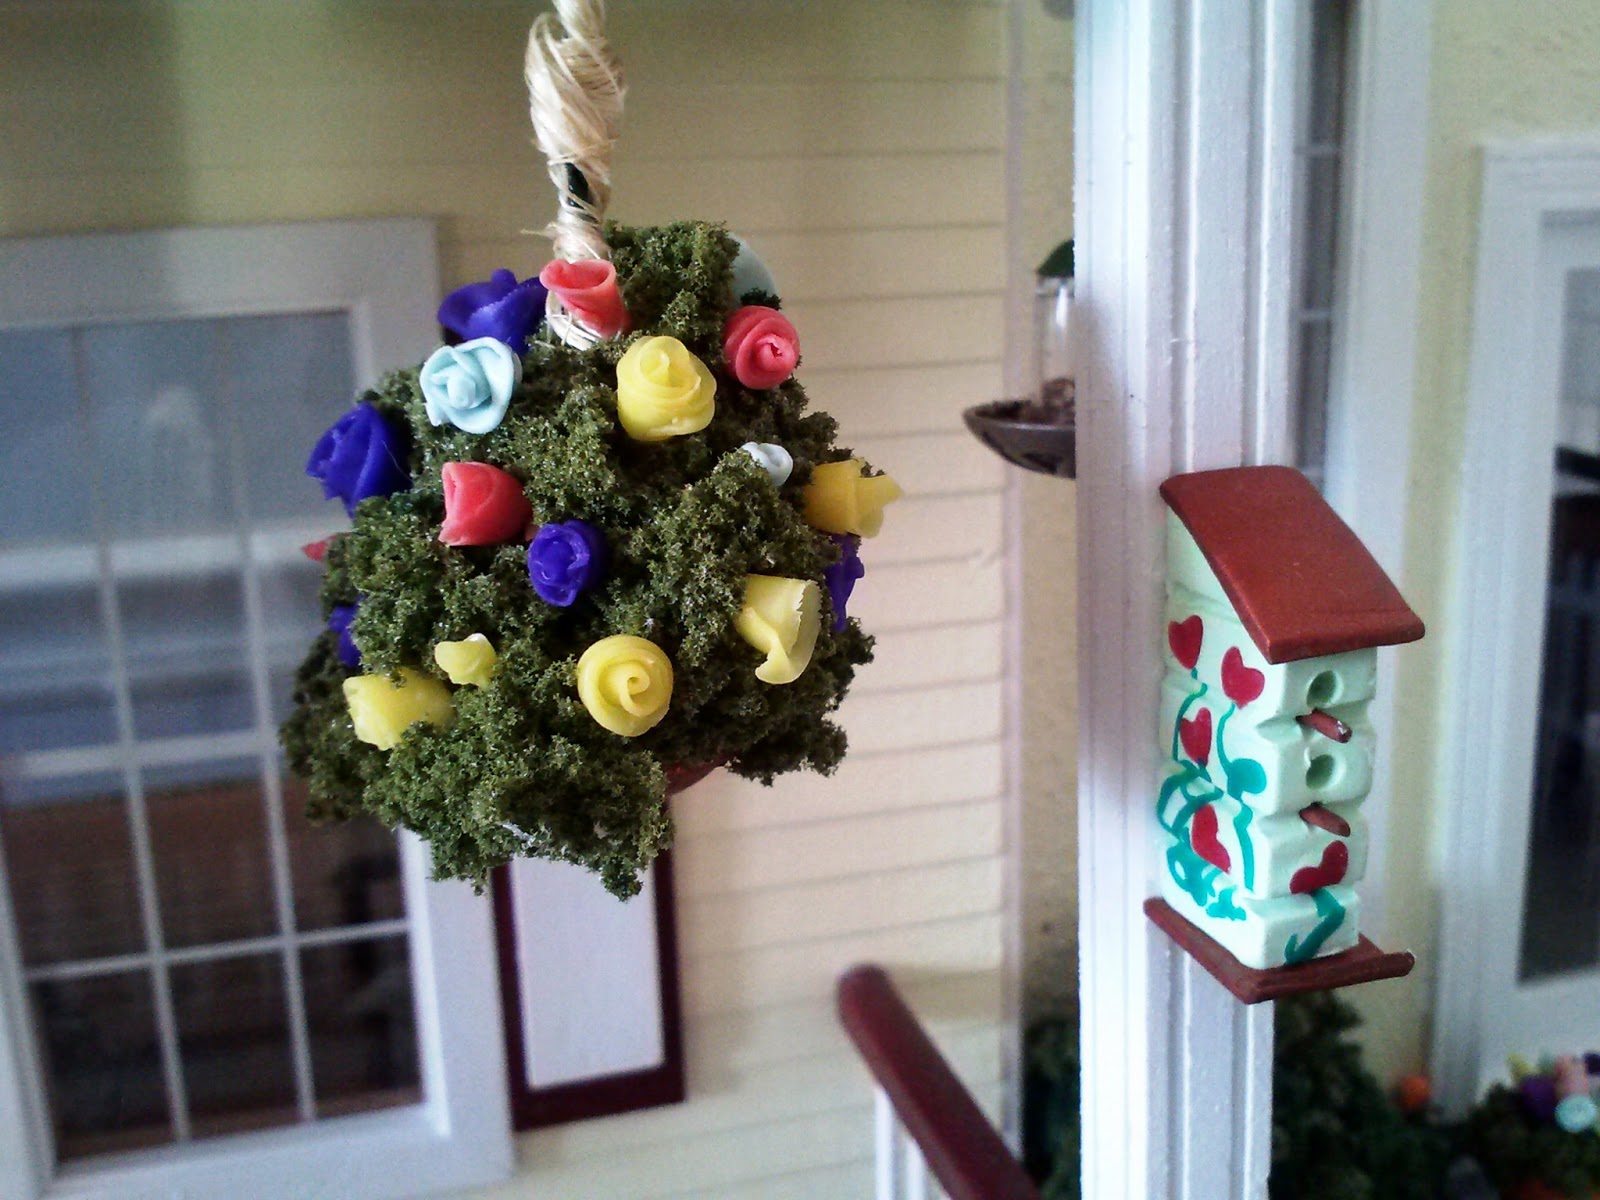
But the promise of warmer days ahead has definitely inspired some new exterior work...would you believe we glued together this darling little croquet set from bits of scrap wood we had lying around, and some paper clips and polymer clay? And since my hands are limited to what they can do with tools like hand drills or mini saws, making a miniature birdhouse out of wood was out of the question. So I tried another medium - polymer clay! It might not look as realistic as a wooden birdhouse, but it sure was easier on my hands to make these little cuties. 

Click on the pictures to supersize. And thanks so much for following along! Please feel free to leave a comment at the end - I love comments, and try to respond back to everyone! :) Many mini hugs to all!!